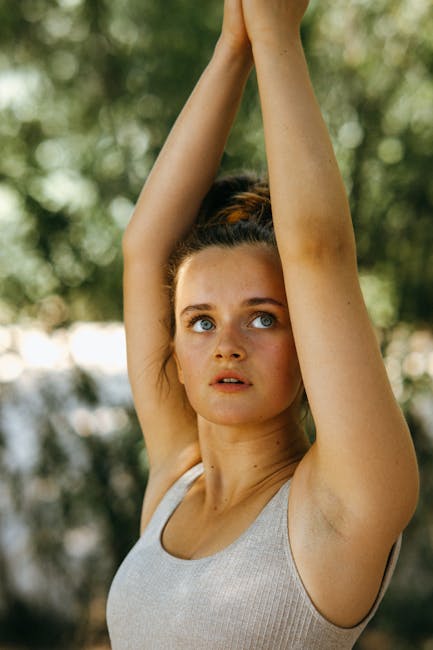
Ultimate Yoga Flow Sequence for Beginners: Your Path to Inner Peace and Flexibility
Yoga has transformed the lives of millions around the globe, and it’s no wonder why. Practicing yoga not only enhances your physical strength and flexibility but also calms your mind and nourishes your spirit. If you’re just starting your journey, you might feel a bit overwhelmed with the myriad of poses and sequences out there. That’s where our Ultimate Yoga Flow Sequence for Beginners comes into play!
This guide will lead you through a simple yet effective sequence designed specifically for those at the beginning of their yoga adventure. So roll out your mat, breathe deeply, and let’s dive into the ultimate yoga flow sequence every beginner should know!
What is a Yoga Flow Sequence?
Before we jump into our sequence, let’s understand what a yoga flow is. A yoga flow consists of a series of postures (asanas) that are connected together in a smooth, flowing manner. The aim is to synchronize your movement with your breath, creating a meditative rhythm that harmonizes body and mind.
The Ultimate Yoga Flow Sequence for Beginners is designed to introduce you to basic poses that will not only become foundational in your practice but will also enhance your overall well-being.
The Ultimate Yoga Flow Sequence for Beginners
1. Mountain Pose (Tadasana)
Start your practice by standing tall with your feet together, arms by your sides. Ground down through your feet and reach your arms overhead, taking a deep breath. This pose helps establish a strong foundation.
2. Forward Fold (Uttanasana)
From Mountain Pose, exhale and hinge at your hips, folding forward. Let your head hang heavy and relax your neck. This pose stretches the hamstrings and releases tension in the back.
3. Halfway Lift (Ardha Uttanasana)
Inhale and lift your torso halfway, keeping your spine flat and your hands on your shins or thighs. This will help lengthen your spine, preparing you for the next pose.
4. Plank Pose
Step back into a Plank Pose, keeping your body in a straight line from head to heels. Engage your core and hold for a few breaths. This pose builds strength in your arms, core, and legs.
5. Chaturanga Dandasana (Four-Limbed Staff Pose)
Lower down into Chaturanga, keeping your elbows close to your body. If this feels challenging, you can modify by lowering your knees. This move builds upper body and core strength.
6. Upward-Facing Dog (Urdhva Mukha Svanasana)
Inhale and roll over your toes, lifting your chest into Upward-Facing Dog. Keep your thighs off the floor, drawing your shoulders back. This pose opens your chest and improves posture.
7. Downward-Facing Dog (Adho Mukha Svanasana)
Exhale and press back into Downward-Facing Dog. Spread your fingers wide and send your heels toward the mat. This pose is fantastic for stretching the entire body and relieving stress.
8. Warrior I (Virabhadrasana I)
Step one foot forward, turning your back foot at a slight angle. Raise your arms overhead and sink into your front knee. Warrior I encourages focus and determination.
9. Warrior II (Virabhadrasana II)
Open your arms to the sides and gaze over your front hand as you transition into Warrior II. This pose fosters strength and stability in your legs while also opening your hips.
10. Child’s Pose (Balasana)
After the strength poses, it’s time to rest in Child’s Pose. Kneel on the mat, sit back on your heels, and reach your arms forward. This pose calms the mind and stretches the back.
11. Seated Forward Fold (Paschimottanasana)
Sit with your legs extended in front of you, inhale to sit up tall, and then exhale as you fold forward over your legs. This pose stretches the spine and improves flexibility.
12. Final Relaxation (Savasana)
To conclude your practice, lie back in Savasana (Corpse Pose). Allow your body to rest and absorb the benefits of your practice. Close your eyes and focus on your breath.
Incorporating the Ultimate Yoga Flow Sequence for Beginners into Your Routine
To truly benefit from the Ultimate Yoga Flow Sequence for Beginners, aim to practice it three to four times a week. Listening to your body is crucial—don’t force any movements, and modify poses as needed. Always focus on your breath; it’s your guide through every pose.
Frequently Asked Questions (FAQs)
Q: Do I need to be flexible to do yoga?
A: Absolutely not! Yoga is about finding your own range of motion and respecting your body. With consistent practice, you’ll likely see improvement in your flexibility over time.
Q: How long should I practice the yoga flow?
A: Start with 15-30 minutes per session and progressively increase your duration as you become more comfortable with the sequence.
Q: Can I practice the Ultimate Yoga Flow Sequence at home?
A: Yes! This sequence is perfect for home practice. Just ensure you have enough space and consider using a yoga mat to prevent slipping.
Q: What should I do if I feel pain while doing a pose?
A: Listen to your body. If a pose causes pain, ease out of it or modify the pose. It’s better to prioritize safety over getting the perfect pose.
Conclusion
Embarking on your yoga journey can be both exciting and intimidating. But with the Ultimate Yoga Flow Sequence for Beginners, you have a safe and effective way to dive into the world of yoga. Remember, yoga is a practice, not a performance—let it be about self-discovery and inner peace. As you repeat this sequence, allow yourself to grow and evolve in your practice.
So, roll out your mat, breathe deeply, and embrace the flow—your ultimate journey to mindfulness and flexibility awaits!


